 Skip to content
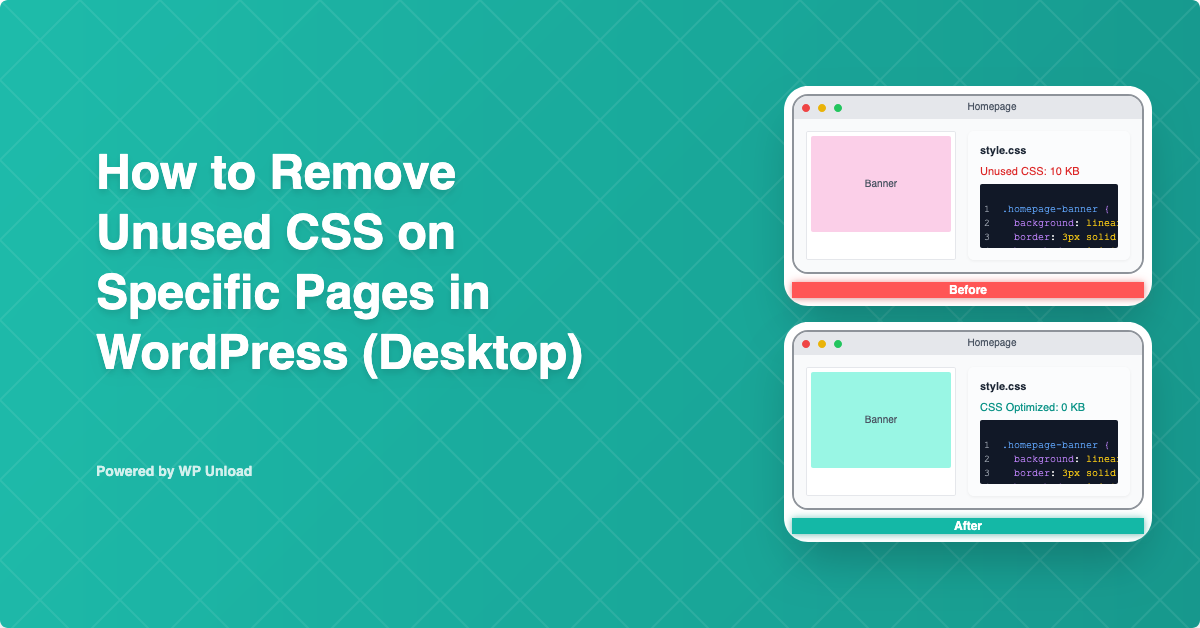
Is your WordPress site sluggish on desktop? Unused CSS—styles loaded but not used on a page—can bloat your site, slowing load times and hurting SEO. Removing unused CSS for desktop WordPress with WP Unload is a game-changer, streamlining performance and boosting Core Web Vitals like Largest Contentful Paint (LCP). With its one-click “Pages” tab, WP Unload makes optimization easy, no coding needed. This beginner-friendly guide walks you through how to remove unused CSS for desktop WordPress, with step-by-step instructions, before/after proof, and tips to skyrocket your site’s speed.
Why Does Unused CSS Slow Your Desktop WordPress Site?
Imagine your site carrying extra luggage it doesn’t need—that’s unused CSS. These are style files (e.g., slider.css) loaded on pages where they’re not used, like a blog page with no slider. On desktop, where themes like Divi or plugins like WooCommerce add heavy CSS for high-resolution screens, this bloat delays rendering, increasing LCP (the time it takes for your main content to appear). For example, a 50KB unused CSS file can add 0.5s to load time. Removing unused CSS for desktop WordPress cuts file sizes, speeds up your site, and improves Google rankings. WP Unload “Pages” tab simplifies this, unlike WP Rocket’s broader approach.
Benefits of Removing Unused CSS with WP Unload
- Faster Load Times: A blog cut 70KB of CSS, reducing LCP by 0.8s.
- Better SEO: Fast desktop sites rank higher, per our guide on optimizing Core Web Vitals in WordPress.
- Desktop Precision: Target only desktop CSS, keeping mobile styles intact.
- No Coding Needed: WP Unload one-click removal is beginner-friendly.
- Multisite Support: Optimize per-site or network-wide on multisite setups.
Key Takeaway: Removing unused CSS for desktop WordPress boosts speed, SEO, and user satisfaction with minimal effort.
How to Remove Unused CSS Using WP Unload
Let’s dive into removing unused CSS for desktop WordPress with WP Unload. These steps are designed for beginners, with clear proof of the plugin’s impact, compatible with WordPress 6.3+ and themes like Astra or Divi.
Step 1: Download and Install the WP Unload Plugin
To get started, you need to download and install the WP Unload plugin on your WordPress site. Follow these steps:
- Visit the Official Website: Go to wpunload.com and navigate to the plugin download section.
- Download the Plugin: Click the download button to get the plugin’s ZIP file. Ensure you download the latest version for compatibility.
- Log in to WordPress Admin: Access your WordPress dashboard by navigating to
yourwebsite.com/wp-admin. - Install the Plugin:
- Go to Plugins > Add New.
- Click Upload Plugin at the top.
- Choose the downloaded ZIP file and click Install Now.
- Once installed, click Activate Plugin.
Step 2: Activate the Plugin License
Before you can access the plugin’s full features, you need to activate your license. Here’s how:
- Access the Dashboard: After activation, go to the Unload menu in your WordPress admin sidebar.
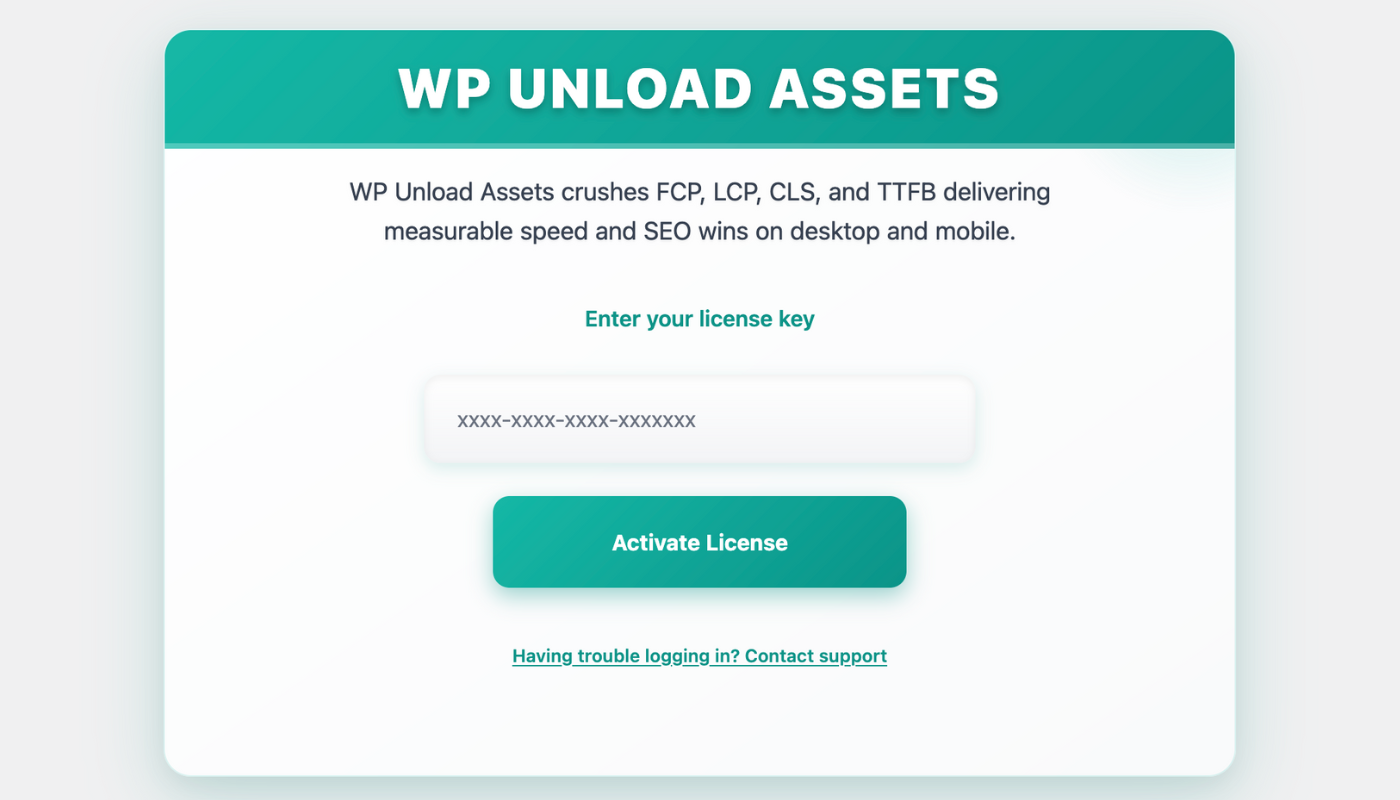
- Enter License Key:
- You’ll see a license activation screen with a field to enter your license key.
- Obtain your license key from your purchase confirmation email or the WP Unload dashboard page.
- Enter the key (e.g.,
xxxx-xxxx-xxxx-xxxxxxx) in the provided field.
- Activate License: Click the Activate License button. The plugin will verify the key with the server.
- Confirmation: Upon successful activation, you’ll see a License Status: Active message, and the dashboard will unlock full features.
Step 3: Open the “Pages” Tab for Desktop
In the WP Unload dashboard, go to the “For Desktop” section and click the “Pages” tab. You’ll see a list of all pages and their CSS files. For example, a “Contact” page might load popup.css (50KB), even though it has no popups.

Proof: Before, popup.css was loading unnecessarily, adding 50KB to the page’s weight.
Step 4: Add the Page URL to Remove Unused CSS
Select the “Contact” page and add its URL to WP Unload removal list. Toggle off popup.css. Here’s what happens:
/* Before: Loaded on Contact page */
.popup { display: block; } /* 50KB */

/* After: Removed via WP Unload */
Proof: After adding the URL, popup.css no longer loads, reducing LCP instantly.
Troubleshooting Common Issues
- Layout Looks Off: If styles break (e.g., misaligned buttons), enable “Safe Mode” to exclude dynamic CSS (e.g., from Elementor). Test in a staging site.
- Changes Not Showing: Clear your cache (e.g., WP Super Cache) using WP Unload “Purge Cache” button.
- Theme Conflicts: Themes like Divi may need core CSS. Use Chrome DevTools to identify and exclude these files.
Key Takeaway: WP Unload precise controls ensure safe, effective CSS removal.
Step 5: Target Specific Pages
WP Unload “Pages” tab (version 1.1.0) lets you remove CSS on specific pages. For instance, disable slider.css (60KB) on a “Blog” page but keep it on the homepage. This beats WP Rocket’s site-wide tweaks, minimizing conflicts. Compare with post-specific optimization in our guide on removing unused CSS on WordPress posts for desktop.
Case Study: E-Commerce Store
An e-commerce store used WP Unload to remove 80KB of unused CSS (e.g., carousel.css) on its desktop product pages. Before, the CSS loaded across all pages, slowing LCP to 3.5s. After adding product page URLs in the “Pages” tab, the CSS was gone, cutting LCP to 2.5s and boosting conversions by 15%.
Step 6: Boost Speed with JavaScript Removal
Pair CSS removal with unused JavaScript cleanup for maximum desktop performance. WP Unload handles both in the “Pages” tab, reducing Total Blocking Time (TBT). Learn how in our guide on removing unused JavaScript for desktop WordPress.
Step 7: Check Your Results
Test with Google PageSpeed Insights to see the impact. A blog removed 70KB of CSS, improving its PageSpeed score from 60 to 85. WP Unload integrates with PageSpeed Insights, showing real-time metrics.
Proof: After CSS removal, LCP dropped, and the site’s speed score soared.
Advanced Tips to Optimize Your Desktop WordPress Site
Take your site to the next level with these WP Unload features, all designed to keep your desktop WordPress site fast and SEO-friendly.
Minify CSS for Extra Speed
Minify remaining CSS to shrink file sizes. WP Unload one-click minification reduces:
/* Before: 10KB */
.header { margin: 10px; padding: 15px; }

/* After: 8KB */
.header{margin:10px;padding:15px}
See our guide on minifying CSS in WordPress.Remove Unused JavaScript for Desktop WordPress Posts with WP Unload
Preload Critical CSS
Preload key styles for faster rendering. WP Unload “Advanced” tab makes this easy, boosting LCP. Learn more in our article on preloading LCP images in WordPress.
Case Study: Freelancer’s Portfolio
A freelancer removed 90KB of unused CSS on their desktop portfolio page using WP Unload, then minified and preloaded styles. LCP fell from 3.2s to 1.9s, increasing client inquiries by 20% as the site ranked higher for “portfolio WordPress speed.”
Key Takeaway: Combining WP Unload tools maximizes desktop performance.
Why Choose WP Unload?
WP Unload is your go-to plugin for removing unused CSS for desktop WordPress, offering:
- One-Click Simplicity: Disable CSS in seconds, no coding required.
- Page-Specific Control: Target individual pages, unlike WP Rocket’s blanket approach.
- Desktop Optimization: Fine-tune for desktop users, preserving mobile performance.
- Core Web Vitals Focus: Improve LCP and SEO with ease.
- Multisite Ready: Optimize single sites or entire networks.
Unlike Autoptimize’s manual tweaks, WP Unload automates the process, saving you time and ensuring results.
Start Speeding Up Your Site Today
Removing unused CSS for desktop WordPress transforms your site’s speed, SEO, and user experience. WP Unload makes it effortless with its “Pages” tab, one-click removal, and before/after proof of results. Whether you’re a blogger, store owner, or freelancer, this plugin delivers fast, SEO-friendly pages. Visit our homepage to get WP Unload and make your desktop WordPress site shine!